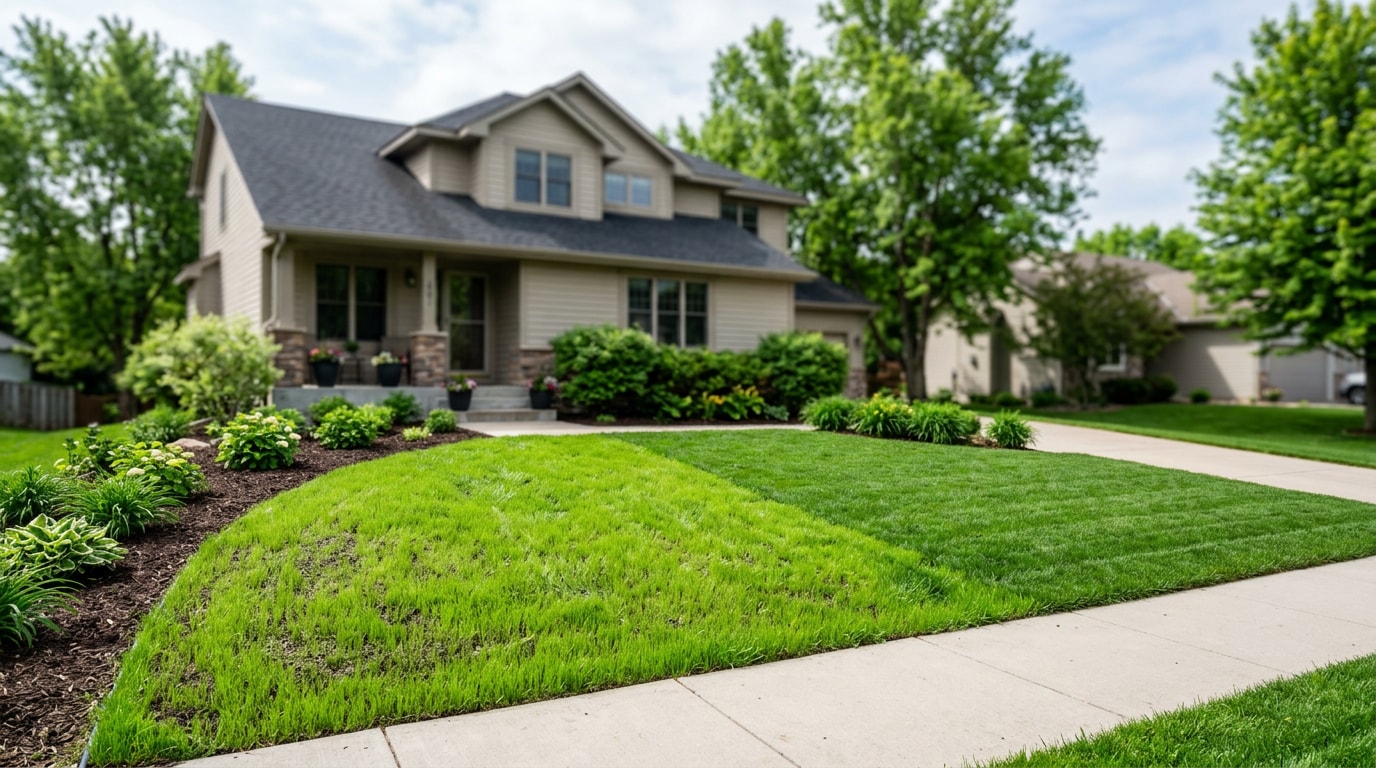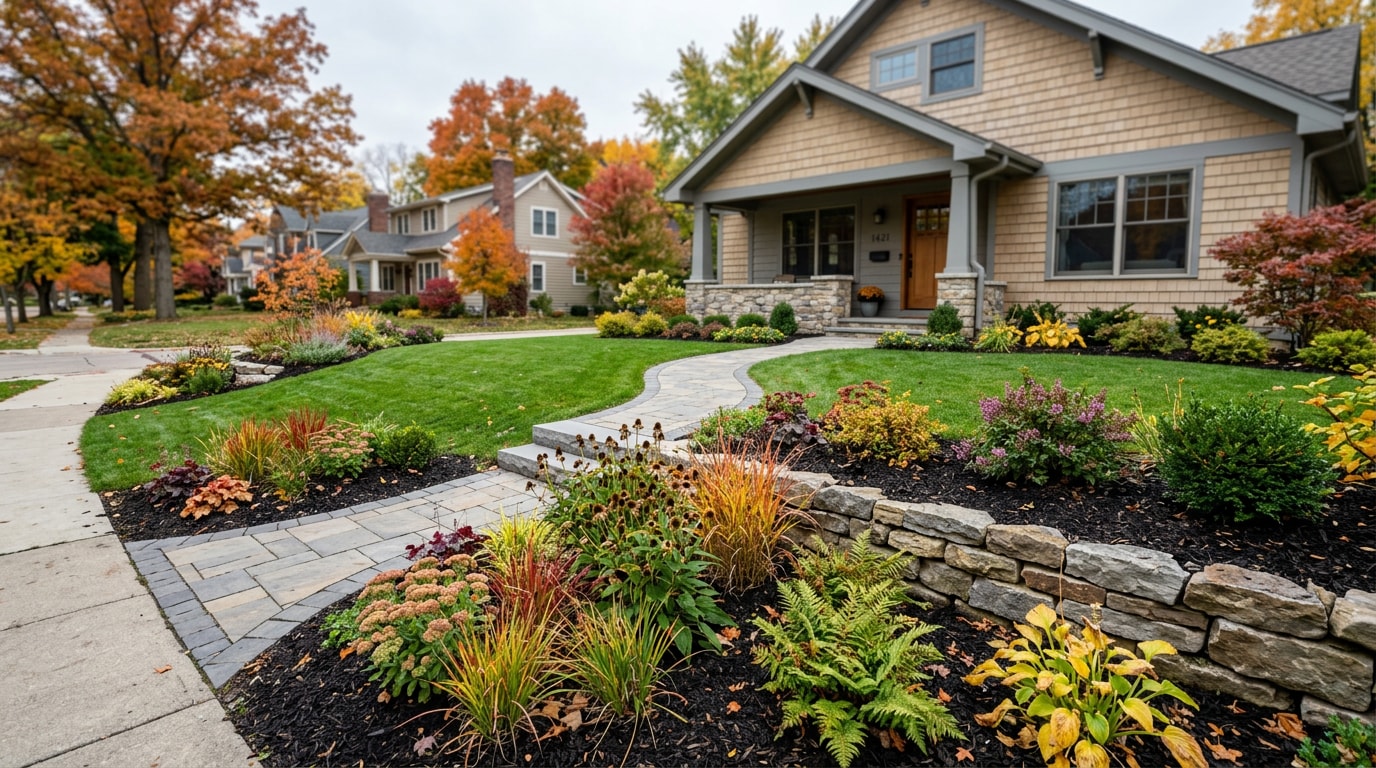
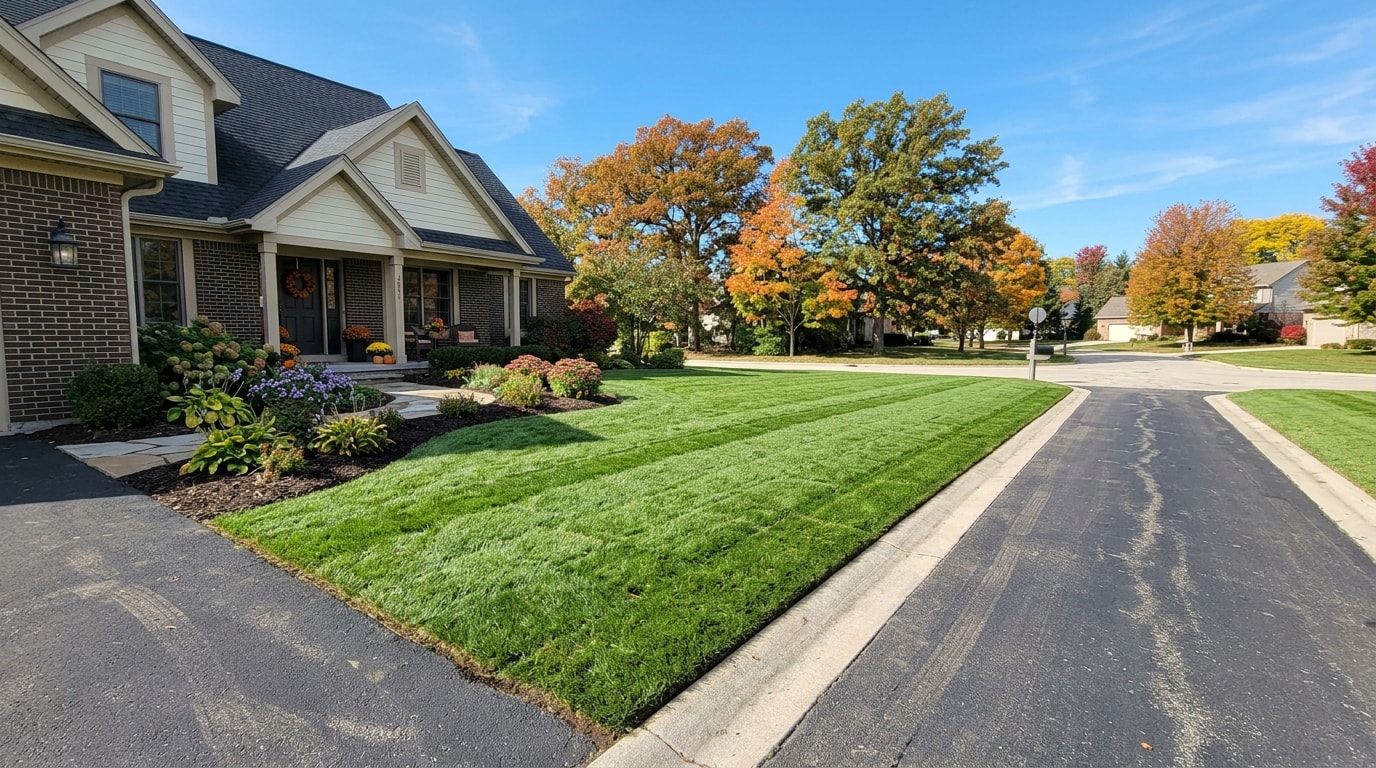
If you want to know how to plant sod in Hudson, WI, timing and soil prep matter more here than in most national guides admit. St. Croix County's clay-heavy soil drains slowly, and our four-season climate narrows the safe install window to a few weeks each spring and fall. We install sod across Hudson and St. Croix County every season, and this guide walks through the exact timing, grass selection, costs, and steps that make new sod root instead of die back.
Is Now the Best Time to Lay Sod in Hudson, WI?
The best time to lay sod in Hudson, WI is early spring (April to mid-May) or early fall (late August through September), when cool-season grasses root fastest without heat or freeze stress. Summer installs carry the highest failure risk because soil temperatures climb and roots struggle to establish before drought stress sets in.
Spring gives sod a head start once soil temperatures stay consistently warm, but late frosts can still stall growth into May. Fall tends to be more forgiving in St. Croix County — warm soil plus cooler air lets roots establish before dormancy, with less competition from weeds and less watering demand than a July install.
Soil temperature, not the calendar, is the real trigger. Cool-season root growth is stimulated by soil temperatures above 32 degrees Fahrenheit, and is optimal with soil temperatures between 50 and 65 degrees Fahrenheit. The University of Minnesota Extension lawn care calendar — a solid regional reference for a market straddling the Wisconsin-Minnesota border — puts sodding early May through June, and again mid-August to late October for cool-season lawns like ours. Waiting too late into October risks frost before roots anchor.
Choosing the Best Grass/Sod Type for Your Area
Hudson's climate calls for cool-season grass, and most local sod farms grow a handful of proven options. Kentucky bluegrass sod is the most common choice — it spreads via rhizomes, self-repairs from minor damage, and handles Wisconsin winters well, though it prefers full sun. Tall fescue sod tolerates shade and drought better and suits yards with mature trees. Perennial ryegrass establishes quickly and is often blended with bluegrass for faster coverage, while fine fescue handles dense shade where little else grows.
Sun exposure and foot traffic should drive your choice more than brand names. A yard with kids and dogs benefits from bluegrass's self-repair; a shaded side yard does better with fescue. Our sod installation service can help you match grass type to your specific site conditions before you order, and if you're weighing seed instead, our grass seed installation page breaks down that trade-off too.
How Much Does Sod Cost in Hudson, WI?
Pricing varies by grass type, order size, and whether you're buying material only or paying for full installation. The ranges below are typical for this market — always confirm current rates with a local farm or installer before budgeting.
| Cost item | Typical range | Notes |
|---|---|---|
| Sod (material only) | $0.35–$0.65 per sq ft | Lower end for large bluegrass orders |
| Full pallet (400–500 sq ft) | $150–$350 | Price varies by grass variety |
| Professional installation | Often 1.5–2x material cost | Includes labor, equipment, site prep |
Delivery and labor are billed separately from the sod itself, so your total budget should account for those costs on top of the material price.
DIY vs. Hiring a Sod Installation Company
Once you know roughly what sod costs, the next decision is whether to install it yourself or bring in help. DIY sod installation saves on labor but demands a full day of physical work and the right tools. Hiring a sod installer costs more upfront but reduces the risk of mistakes that shorten a lawn's life — grading errors and poor soil contact are the two we see most often on DIY jobs we're later called in to fix.
Professional installs typically bundle material, labor, and equipment into one price, and the total often runs noticeably higher than material alone, depending on yard size and site prep needed. In exchange, many installers offer a workmanship warranty covering early failure, which can offset the higher price if your yard has tricky grading or heavy clay. If you'd rather skip the tilling and rolling yourself, get a free estimate and we'll walk your site before you commit either way.
Where to Buy Sod in Hudson
Most sod suppliers sell by the pallet rather than individual pieces, with minimum orders often covering 400–500 square feet. Sod grown on similar clay-based soil tends to adapt faster once transplanted than sod trucked in from a different climate zone, so sourcing locally is worth the extra legwork. Check our Hudson, WI service area page to confirm coverage near you.
Gather Your Materials and Supplies
Before delivery day, line up the right tools so prep work doesn't stall halfway through. You'll generally need:
- A measuring wheel or tape for calculating square footage
- A rototiller for breaking up compacted or clay soil
- A leveling rake to smooth and grade the surface
- A lawn roller to press sod into firm soil contact
- A utility knife or sod cutter for trimming edges
- Starter fertilizer and stakes or marking flags for layout
Sod is perishable and starts declining within hours of being cut, so have everything staged before the pallets arrive.
Measure the Space and Purchase Sod
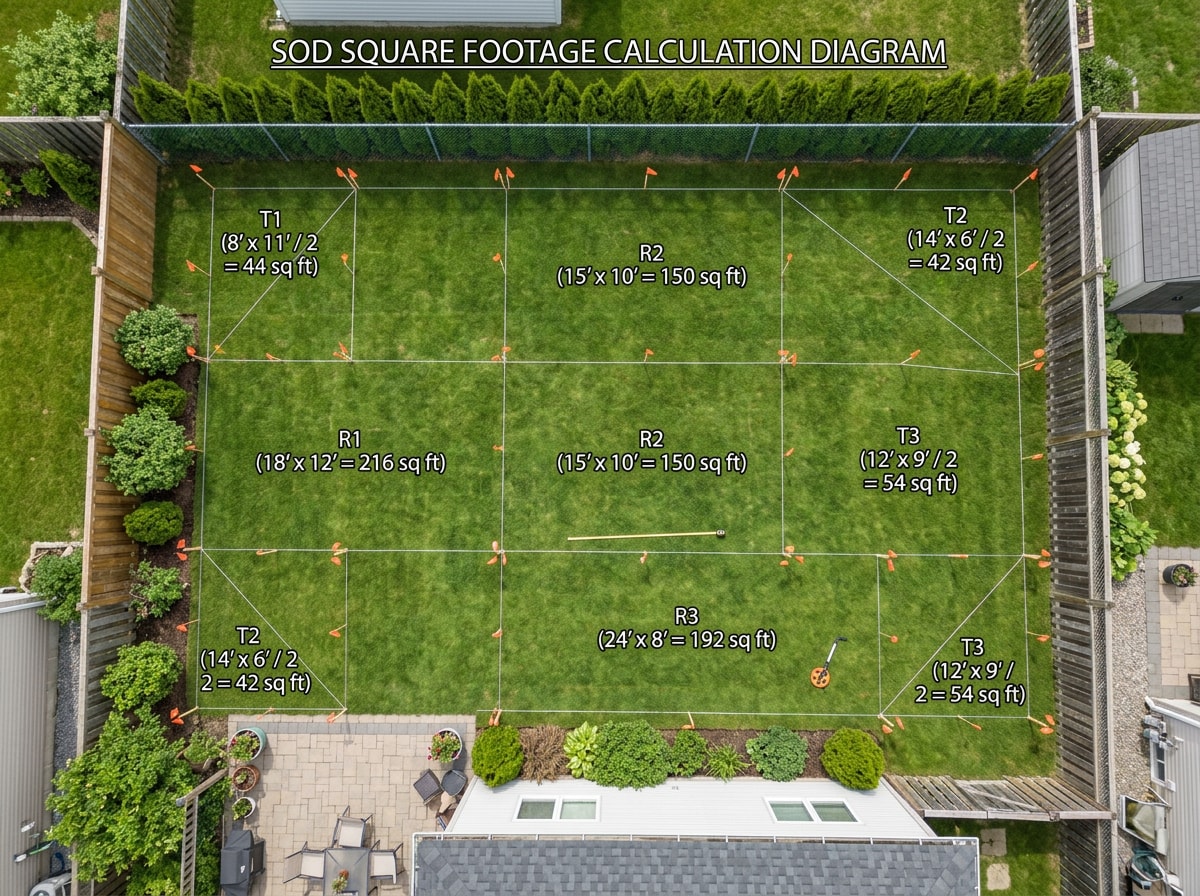
To figure out how much sod you need, break your yard into simple rectangles and triangles, calculate each section's square footage, then add them together. This is the standard way installers measure a yard for sod, since few lawns are perfect squares.
Add 5–10% extra to your total to cover cutting waste around curves, beds, and walkways — ordering short mid-project is far more frustrating than having a little leftover. Because sod is perishable, schedule your order so all soil prep finishes the day before or morning of delivery, not after.
Prepare the Soil
Soil prep determines whether sod thrives or struggles more than any other step, and that's especially true in Hudson, where St. Croix County's clay-heavy subsoil drains slower than the loamy soils common elsewhere in the Midwest.
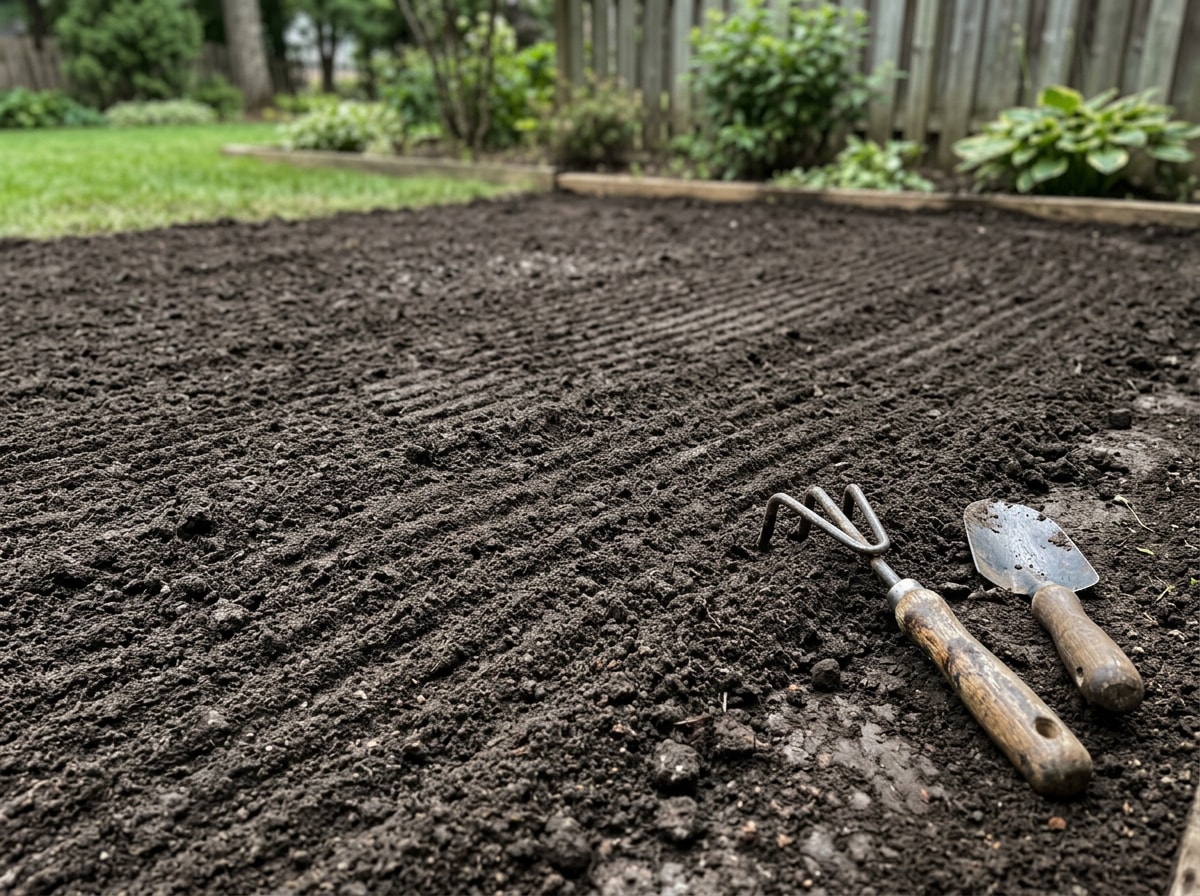
Clear debris and old vegetation, then till 4–6 inches deep to loosen compaction and improve drainage. A soil pH test helps you catch amendment needs early. A properly prepared sod planting bed should be firm enough to walk on with the top 0.5 inch of soil loosened. Grade the surface so it sits about an inch below adjacent walkways or driveways, matching the standard Purdue Extension guidance on establishing lawns from sod, which keeps the finished lawn flush once sod settles.
Remove the Old Grass First
If you're sodding over an existing lawn, strip the old grass along with roughly an inch of soil beneath it before tilling. Skipping this step raises your finished grade too high against walkways and driveways, and leftover living grass can compete with new sod roots or carry over existing weed and disease issues.
Lay the Sod in Neat Rows
Start along the longest straight edge of your yard — a driveway, walkway, or foundation line — and work outward in rows. This keeps your layout square and makes trimming at the edges far easier later.
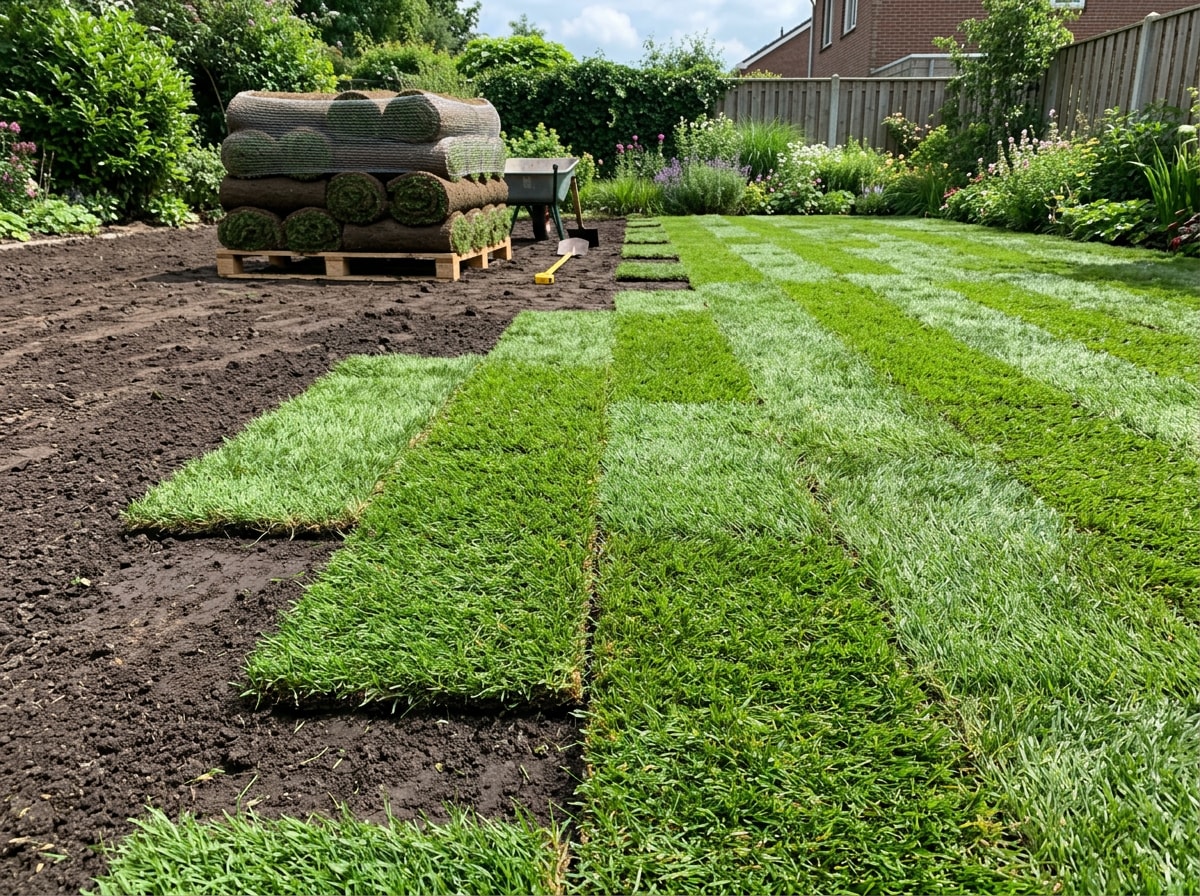
Stagger seams in a brick-like pattern rather than lining up edges in a grid, and push pieces snugly together without overlapping. Overlapped or gapped seams dry out and die back quickly, so this detail is worth getting right the first time.
Fill in Gaps and Neaten the Edges
Use a utility knife to trim excess sod around garden beds, sprinkler heads, and curved borders for a clean fit. Where small gaps remain between pieces, fill them with topsoil rather than leaving bare seams — exposed gaps dry out fast and invite weeds before new grass can close the space.
Press Down the Sod
Run a lawn roller over the entire area once installation is finished, making two passes in perpendicular directions. This removes trapped air pockets and presses roots into firm contact with the soil below — a step that's easy to skip but directly affects how quickly roots establish.
Water and Maintain Your New Sod
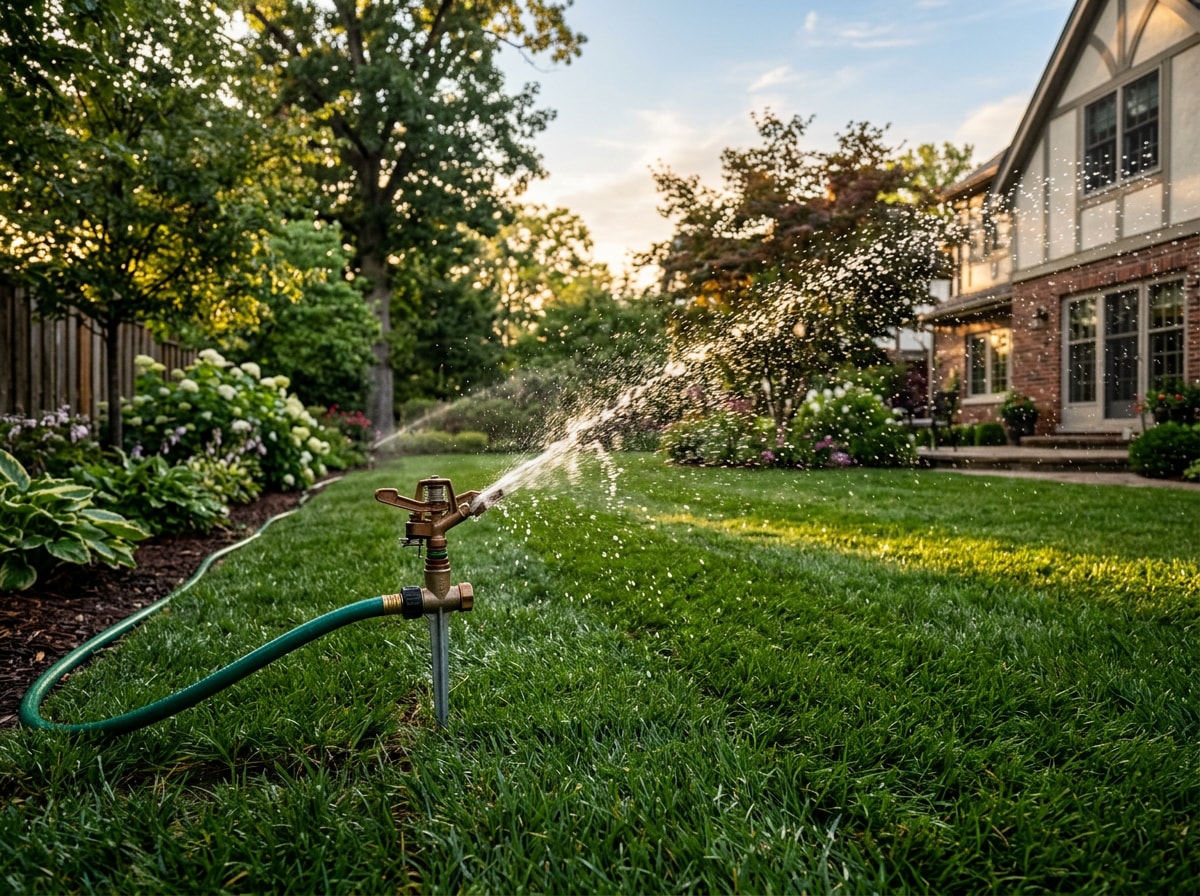
How you water in the first 30 minutes and the following two weeks largely determines whether new sod survives its first season. Water thoroughly within 30 minutes of laying the last piece, then water daily — sometimes twice a day in hot stretches — for the first one to two weeks.
After roots start gripping the soil (usually around week two), taper watering gradually to train roots to grow deeper rather than staying shallow. Efficient irrigation will avoid runoff and reduce water waste , which is exactly what the EPA WaterSense turfgrass program recommends once new sod is established. If your current sprinkler setup can't handle the daily cycles a new lawn needs, our irrigation system installation team can build a zone around your new sod before the next heat wave hits.
Don't Forget to Fertilize
Apply a starter fertilizer shortly after installation to support early root development. Starter blends are formulated with higher phosphorus levels than standard lawn fertilizer, which specifically helps new roots establish rather than just feeding existing grass. Once your sod is rooted in, regular landscape maintenance keeps it dense through its first Wisconsin winter and beyond — our Amery, WI turf care guide covers the seasonal schedule in more depth if you want to plan further ahead.
Ready to skip the trial and error? Get a free estimate from our crew and we'll give you a straight answer on timing and cost for your yard. If you're also planning a bigger yard overhaul alongside new sod, our landscape renovation and rejuvenation service can handle grading, beds, and turf in one project. You can see examples of past sod and landscape work on our homepage.
FAQ
What Time of Year Should You Lay Sod in Hudson, Wisconsin?
Early spring and early fall are the best windows for laying sod in Hudson, Wisconsin, since cool-season grass roots establish fastest when soil is warm but air temperatures stay moderate. Avoid summer installs when possible — heat stress and inconsistent watering needs make early establishment much harder.
Can You Lay Sod Over Existing Grass?
No. Old grass and vegetation need to be fully removed, along with about an inch of soil, before new sod goes down. Laying sod directly over existing grass blocks root contact with soil and often leads to poor establishment or early dieback.
How Long Does It Take for Sod to Root?
Sod typically takes root in two to three weeks under good conditions, though cooler temperatures or inconsistent watering can extend that timeline. You can gently tug a corner piece after about two weeks — resistance means roots are anchoring in.
How Often Should You Water New Sod?
Water new sod daily for the first one to two weeks, then gradually reduce frequency as roots establish. The goal is consistently moist, not soggy, soil early on, tapering toward a normal watering schedule once the lawn is rooted in.
Should You Put Topsoil Down Before Laying Sod?
Only if your existing soil is thin, badly compacted, or missing organic matter after you strip the old grass. A 1–2 inch layer of quality topsoil, tilled into the native soil rather than just laid on top, helps roots establish faster — but it's not required on reasonably healthy ground.
How Soon Can You Mow or Walk on New Sod?
Avoid walking on new sod for the first week beyond what's needed to check establishment. Hold off on the first mow until the sod resists a gentle tug, usually around two to three weeks, and keep the mower blade high for that first cut.