Lawn renovation in Osceola, WI is rarely as simple as it looks on YouTube, especially once you're standing over half-dead turf with a bag of seed and no real plan. Polk County's clay-loam soils and our short growing season punish bad timing, so the national guides that tell you to "just overseed in spring" will cost you a season. Here's the step-by-step version built for our soil, our frost dates, and the realistic split between DIY and hiring it out.
Assessing Your Lawn in Osceola, WI: Renovation vs. Overseeding
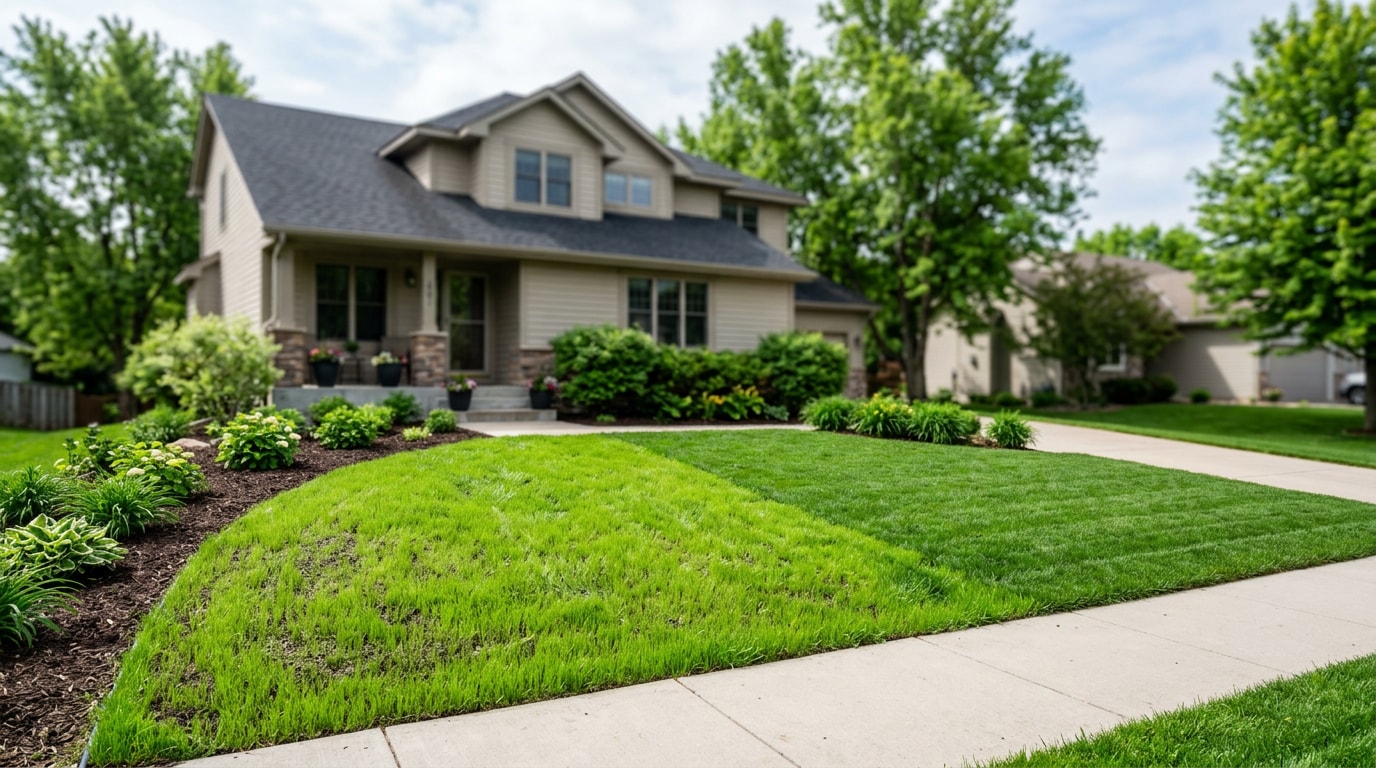
Before buying seed or renting equipment, figure out whether your lawn needs a full renovation or just overseeding. The difference comes down to how much of the yard is weeds versus salvageable turf.
A full renovation is more expensive and labor-intensive than overseeding, typically running $0.15 to $0.35 per square foot as a DIY project. It's the right call once weed coverage hits 50% or higher. If weeds cover less than 40%, overseeding into existing turf is usually enough.
| Factor | Overseed | Full Renovation |
|---|---|---|
| Weed coverage | Under 40% | 50% or more |
| 2026 DIY cost (5,000 sq ft lot) | $150–$500 | $750–$1,750 |
| Best for | Thin spots, minor bare patches | Widespread weeds, compaction, dead turf |
| Polk County soil note | Works with existing clay-loam if aerated first | Often needs amended topsoil over heavy clay subsoil |
Falling in the middle, 40-50% weeds, usually means renovation is the safer bet. Half-measures tend to leave patchy results in our clay-heavy soils. On the properties we've renovated around Osceola, the ones that tried to overseed through 50%+ weed cover almost always needed a full redo within two years. Not sure which camp your yard falls into? Our landscape renovation and rejuvenation crew can walk your lawn with you and tell you straight.
Visual and Physical Inspection Checklist
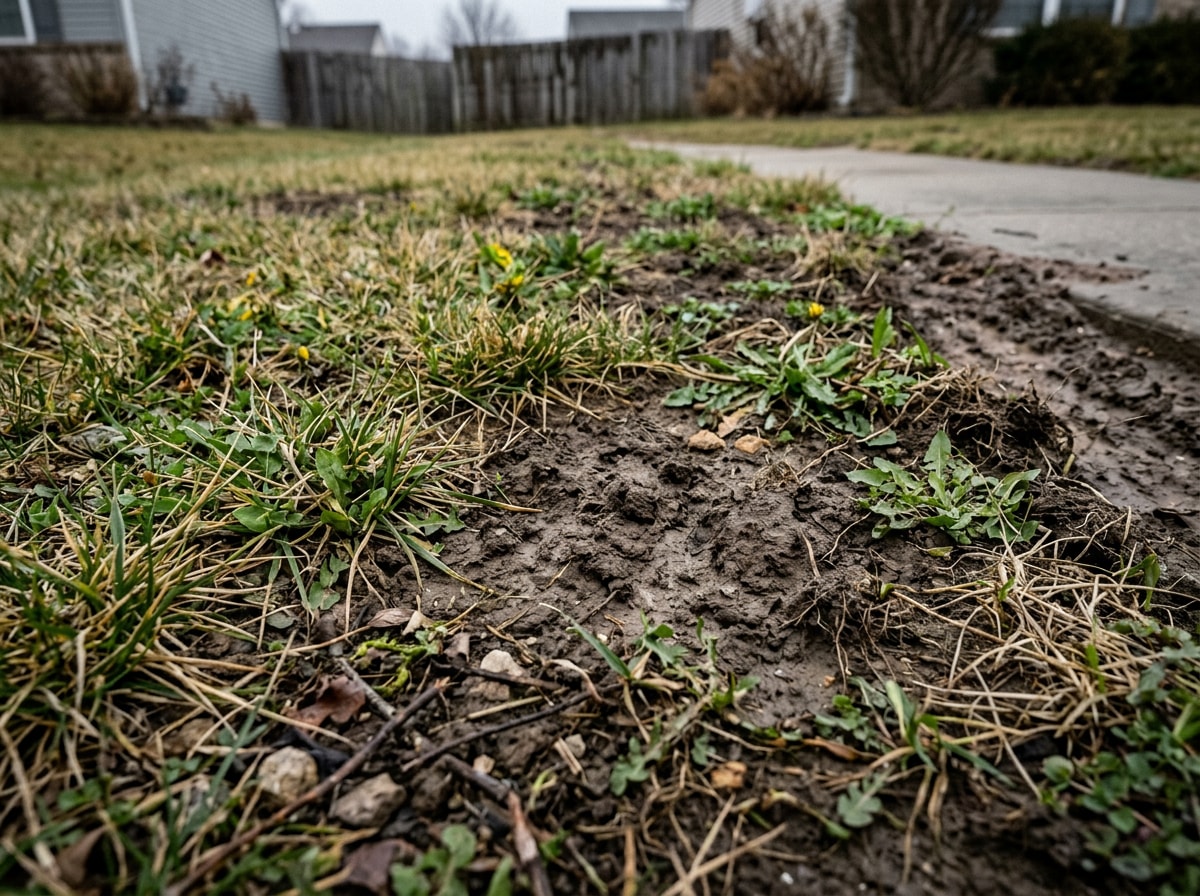
A lawn assessment starts with a dry-day walk-through. Walk each zone separately instead of eyeballing the whole property at once.
- Inspect the front yard first, then the sides and back.
- For every zone, note rough percentages of healthy turf, weed coverage, and bare soil.
- This takes 15-20 minutes but gives you real numbers instead of a general impression.
Then check compaction. Push a flat-blade screwdriver or a 6 to 8 inch metal rod straight down into the soil in several spots. If it sinks easily, you're fine. If you're fighting to get more than an inch or two in, compaction is likely limiting root growth, something aeration later in this guide will address.
Decide What Needs to Go
Lawn renovation isn't only about grass. Bigger yard overhauls often mean clearing out things unrelated to turf: dying trees, failing structures, years of debris. This cleanup gives you a clean canvas to work with before anything gets seeded.
Identify Hazards
Safety comes first. Dead or dying trees should be cut down and their stumps removed before you touch the lawn. A weakened tree is one storm away from damaging a fence, shed, or person. Trees planted within 20 feet of the house are worth removing proactively too, since their roots can eventually threaten your foundation.
Walk the property looking for other hazards:
- Leaning fence posts
- Cracked pavers
- Exposed roots
- Old play equipment
Clearing these out now prevents injuries mid-project and saves you from working around obstacles later.
Decide Which Tasks to DIY vs. Hire a Pro
Not every piece of this project needs a landscaping crew. Here's a realistic split between what an average homeowner can safely handle and what's better left to a professional.
What You Can Do Yourself
Plenty of renovation prep work is genuinely DIY-friendly:
- Tearing up small portions of your lawn
- Demolishing a ground-level deck
- Tearing down low retaining walls
- Digging up old flower beds
These are reasonable weekend projects for most homeowners with basic tools: a shovel, a pry bar, and patience. They're also where you'll save the most money, since labor is usually the biggest line item in a professional quote.
Jobs to Let the Pros Handle
Tree work is where DIY ambition turns risky fast. A landscaping company can typically handle smaller-specimen trees and shrubs without much trouble. Anything larger, mature oaks, trees near power lines, anything needing a bucket truck, calls for a certified arborist, not a weekend project.
The same goes for major regrading or drainage work tied into your home's foundation. When in doubt, a quick call beats guessing. Our team covers renovation projects throughout Osceola, WI, and we're happy to tell you honestly if a job is DIY-safe or not.
Step 1: Kill the Existing Lawn
Killing the existing turf is the longest stretch of any lawn renovation, mostly spraying and waiting. Most DIYers use a non-selective herbicide such as a glyphosate-based product, which kills the whole plant down to the root rather than just top growth.
Timing matters more in western Wisconsin than most national guides mention. Glyphosate needs actively growing weeds to work, and our Zone 4b–5a growing season gives a narrower application window than warmer regions, generally mid-to-late spring through early fall, avoiding drought stress or near-frost stretches. Spraying on a cool, calm, dry day improves absorption and limits drift.
Always follow label directions exactly, including re-entry times for kids and pets. EPA's registered uses and safety data for glyphosate are worth a quick read before your first application.
Organic Solarization
Prefer to skip chemicals? Solarization uses heat instead. Mow the lawn as short as possible, water the soil deeply, then cover the area with clear, thick plastic sheeting, weighing down the edges with soil or rocks.
Trapped heat cooks the grass and weed seeds over 4-6 weeks of sunny weather. It's a genuine organic lawn kill method, but it needs consistent summer heat, not always reliable during an Osceola summer with its share of cloudy stretches. Plan for a full-summer timeline rather than a quick turnaround.
Scalp the Lawn
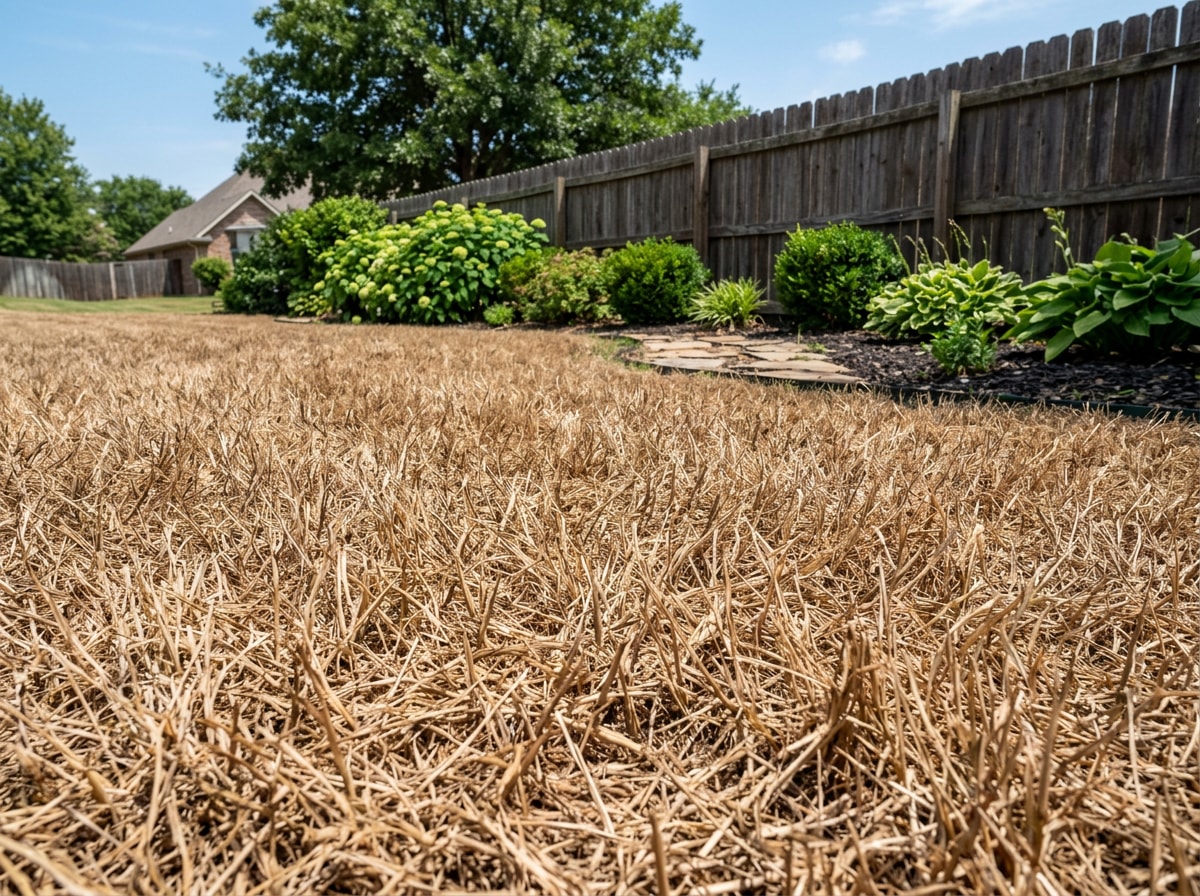
Once the lawn has turned brown and crispy after herbicide treatment, it's time to mow low. This isn't regular mowing height. You're scalping the lawn down as far as your mower allows, often lowering the height of cut across two or three separate passes rather than all at once.
Bag the clippings instead of mulching them. The goal is bare, exposed dirt wherever possible, setting up dethatching and seeding to make actual contact with soil instead of a mat of dead grass.
Dethatch the Lawn
Dethatching is less about cutting and more about raking, hard. Using a dethatching rake or a rented power dethatcher, pull up the dead grass left from scalping until you've exposed as much bare dirt as possible.
This step matters more than it looks. Seed that lands on a mat of thatch rarely germinates, since it never touches soil. Good seed-to-soil contact is one of the biggest factors in whether a new lawn fills in evenly or ends up patchy again by fall.
Core Aeration
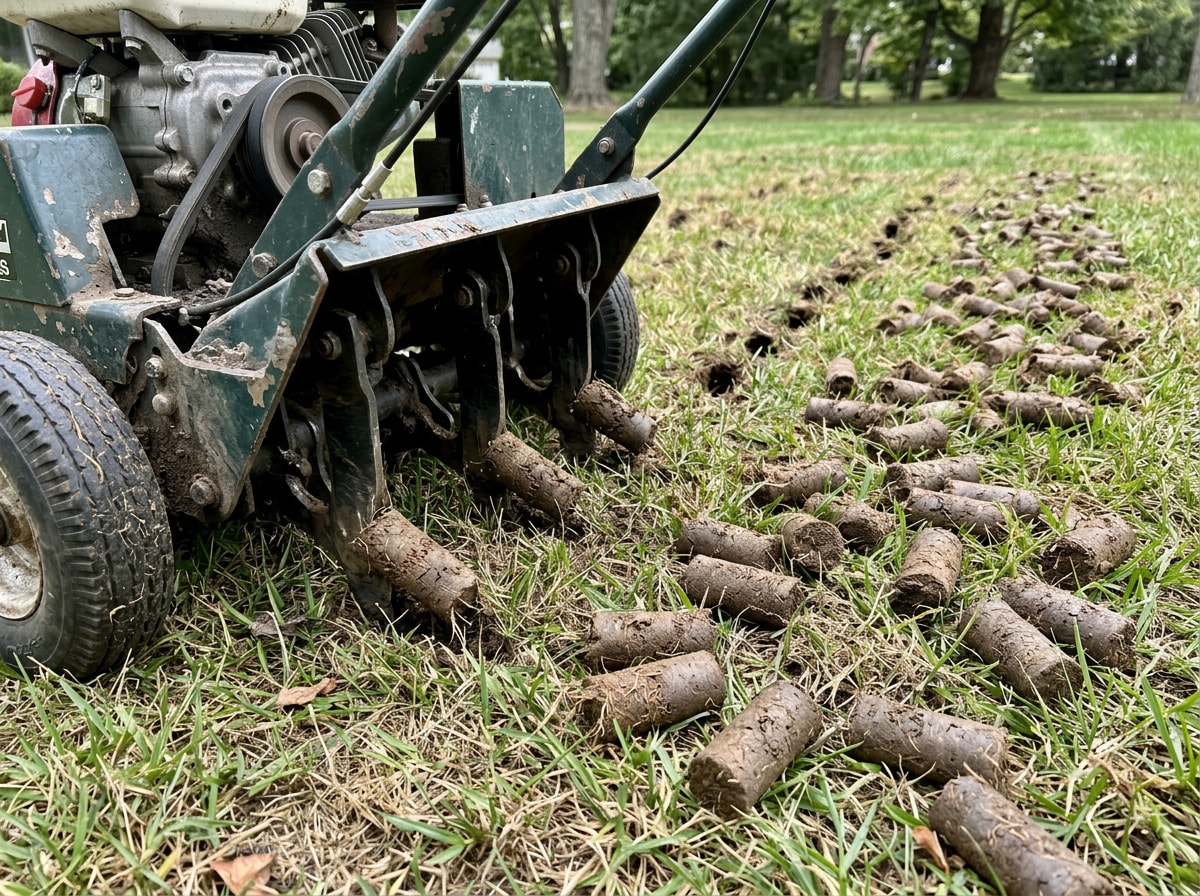
Core aeration pulls small plugs of soil out of the lawn, opening channels for air, water, and seed to reach the root zone. In compacted soil, common across Polk County's clay-heavy subsoil, this often decides whether seed takes root or just washes away.
Removing these plugs relieves soil compaction and gives new roots room to grow downward instead of struggling sideways along a hard layer. Rent a core aerator or hire it out, and run it over the whole yard, not just the bare patches. Penn State Extension's turfgrass establishment guidance backs up why this step shouldn't be skipped on heavier soils, and even healthy turf benefits before overseeding.
Leveling the Ground (Soil/Sand)
If your yard has dips or uneven low spots after aeration and dethatching, now's the time to fix them. Mason sand, often mixed with an organic matter like screened loam, makes the best leveling agent. Straight sand alone doesn't hold nutrients well.
Spread the mix into low areas and smooth it with a lawn-level rake. Don't overdo the depth in any one spot. More than an inch or so of new material can bury what's left of the existing soil structure and slow drainage.
Spread Grass Seed
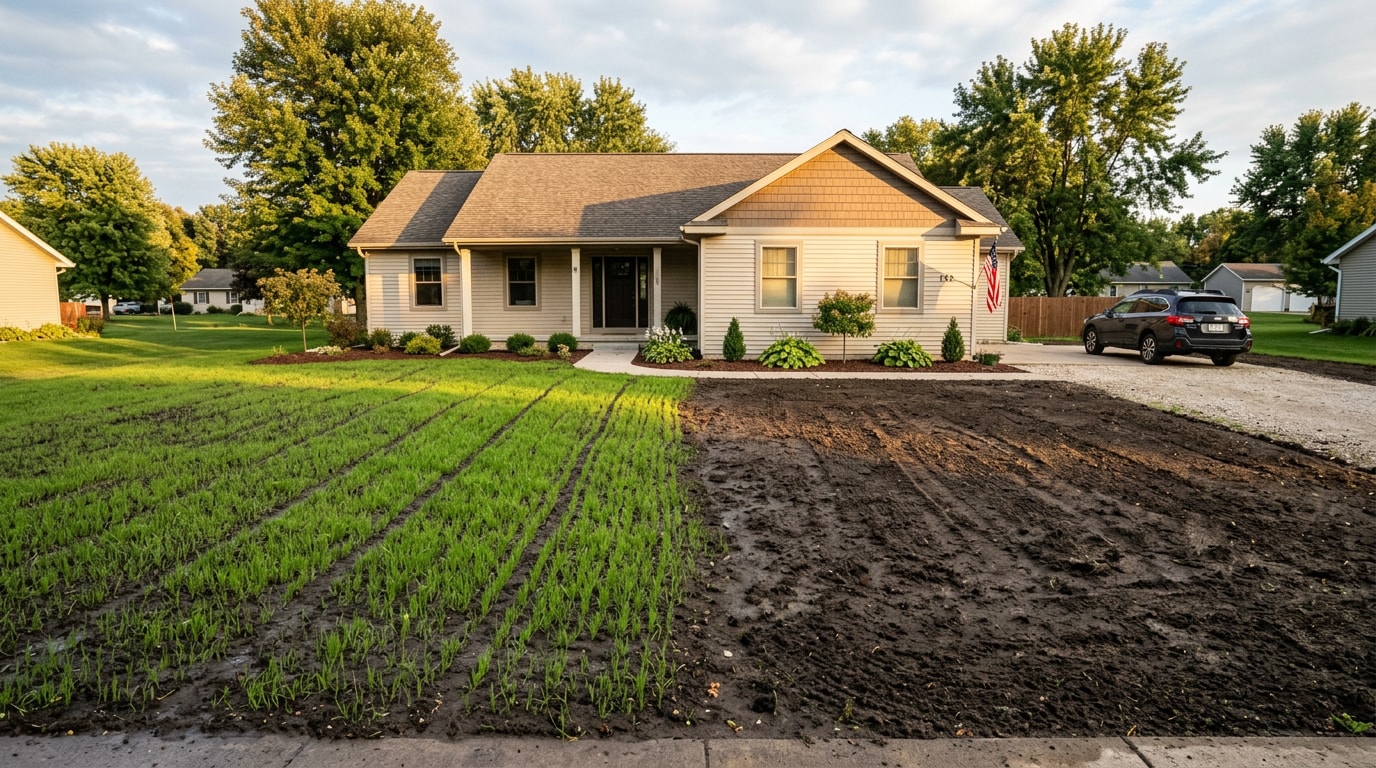
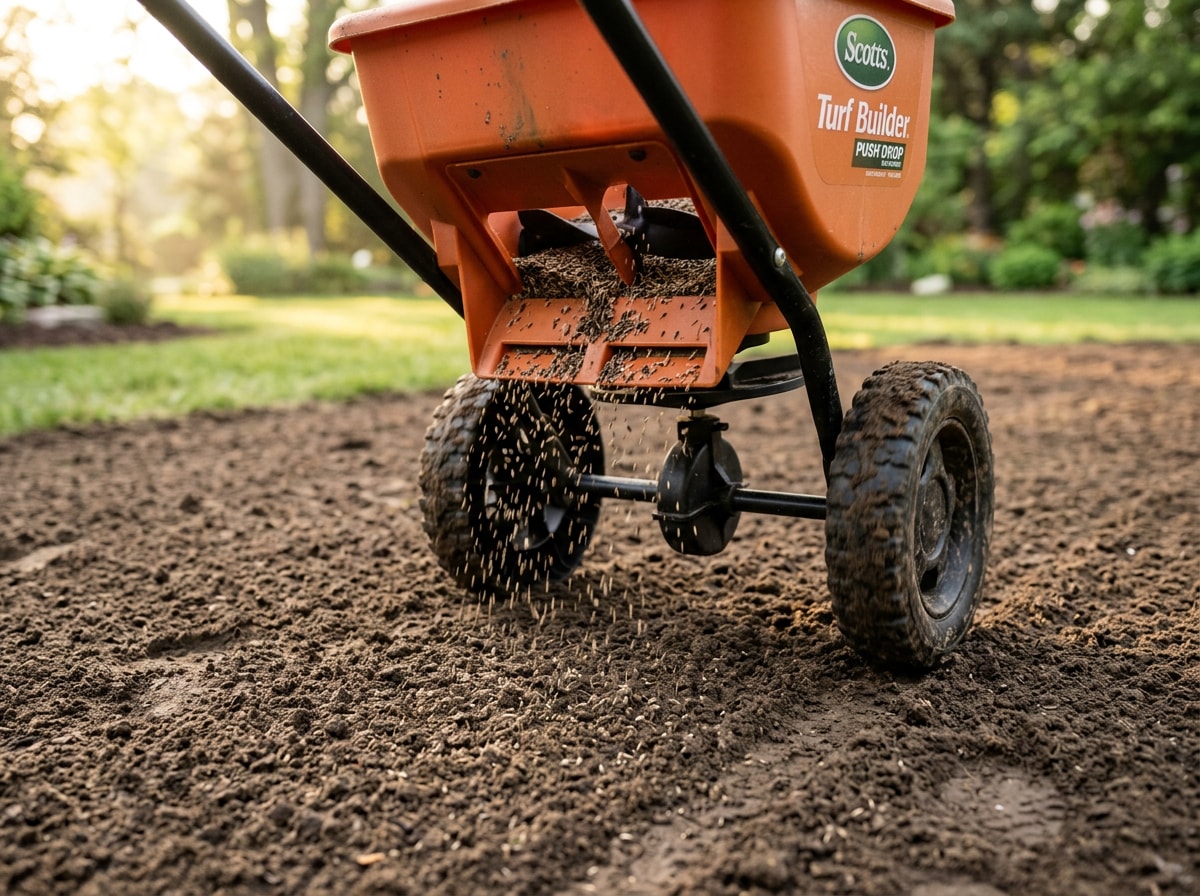
With bare, level soil exposed, it's time to seed. Use a rotary or drop spreader rather than scattering by hand, which almost always leads to uneven coverage.
Set the hopper low and make several passes across the yard: up-and-down, then left-right, then diagonally. University of Minnesota Extension recommends spreading seed in perpendicular directions for uniform distribution, and the same crisscross pattern avoids the striped look that comes from seeding in a single direction. Choose a cool-season blend suited to Zone 4b–5a, like a Kentucky bluegrass and perennial rye mix, which handles Wisconsin winters better than warm-season varieties. If you'd rather skip the waiting and go straight to established turf, our sod installation and grass seed installation crews handle both routes.
Fertilize
With seed down, fertilizer gives it the nutrients to establish quickly. A starter fertilizer, something like a 12-12-12 blend, is formulated for new seed, with enough phosphorus to support root development that regular lawn fertilizers often skip.
Ideally, base your exact blend on a soil test rather than guessing. A standard lawn and garden sample through the UW Soil and Forage Analysis Lab runs about $15 and tells you if your yard is already high in phosphorus, common in some older, heavily-fertilized Osceola lawns, so you're not paying to correct a problem that doesn't exist.
Lightly Rake
The last hands-on step is working seed into the soil. Use a metal rake or a tool like a garden weasel to lightly rake seed into the surface, aiming for solid seed-to-soil contact without burying it too deep.
Seeds should sit no deeper than about 1/4 inch below the surface. Any deeper and many won't have the energy reserves to push through before germinating. A light layer of straw mulch afterward helps retain moisture while new grass establishes.
Plan Your New Landscaping
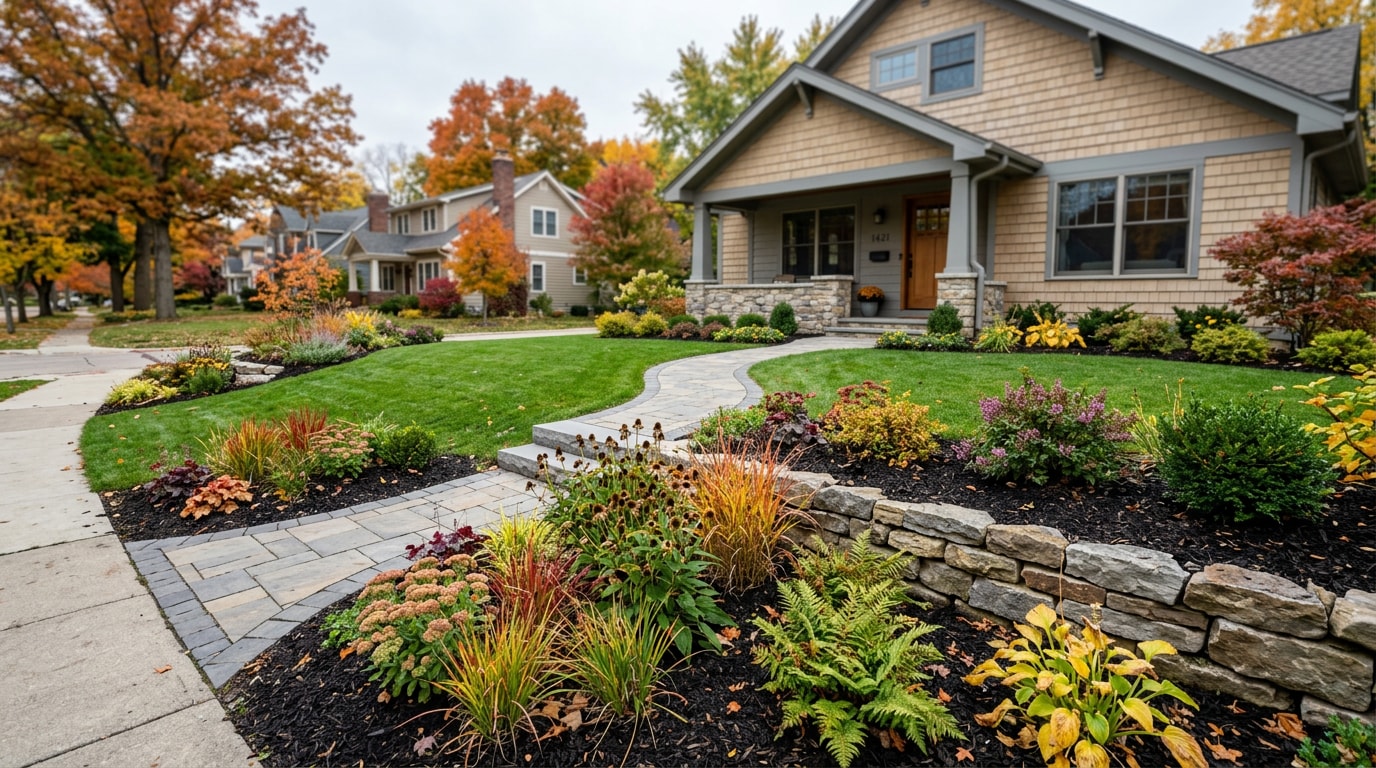
Once the old lawn and any cleared structures are gone, you've got a blank slate worth thinking about as more than a grass-replacement project. This is the point where many Osceola homeowners realize they can reshape flower beds, add a patio, or rework drainage while everything's already torn up.
It's far easier to adjust grading or plan irrigation lines before new turf fills in than after. Even if full landscaping isn't in this year's budget, sketching out where beds or walkways will eventually go can save you from cutting into established grass later. If your renovation is part of a larger property refresh, check our guide on residential turf installation in Polk County, WI for how turf and landscaping projects fit together, and see our perennial plantings page for bed ideas once the lawn is seeded. Once the new lawn is established, regular care through our landscape maintenance program keeps it from sliding back into the condition you just fixed.
Ready to stop guessing and get a plan for your yard? Get a free estimate and we'll walk the property with you before you spend a dollar on seed.
FAQ
A few questions come up often once homeowners start planning a renovation.
How Do You Redo an Existing Lawn?
You don't have to tear up an entire lawn to redo it. Follow these basic steps: test the soil, remove and thin out weeds, correct underlying soil issues, mow the lawn short, remove thatch, fertilize, and seed the bare patches.
This lighter-touch approach works well when more than half your lawn is still healthy turf. It's essentially overseeding with extra prep work, rather than the full kill-and-restart process covered above.
How Much Does Lawn Renovation Cost?
Lawn renovation typically costs between $400 and $3,000 for most homeowners, depending on lawn size, condition, and which treatments are needed.
For a typical Osceola residential lot, roughly 5,000 to 8,000 square feet, expect somewhere between $750 and $2,500 if hiring a professional, or considerably less handling the labor yourself and paying only for seed, herbicide, and fertilizer. Contact us for a free, no-pressure estimate based on your actual lot.
When Is the Best Time to Renovate a Lawn, Fall or Spring?
Late summer to early fall is the best time to renovate a cool-season lawn in most of Wisconsin, with mid-August through mid-September as the ideal window, per University of Minnesota Extension, and early spring as a solid second choice.
Cooler air, warm soil, and more consistent rainfall give new seed its best shot at establishing before winter dormancy. Spring renovation works too, but seedlings competing with weed pressure and summer heat stress need more babying to survive their first season.
What's the Cheapest Way to Renovate a Tired Lawn?
If at least half your existing grass is still healthy, overseeding combined with aeration and top-dressing costs far less than full replacement. You skip the herbicide, the waiting period, and most of the soil disruption that drives up labor time.
This approach won't fix a yard that's mostly weeds, but for turf that's merely thin or patchy, it's usually the most cost-effective fix. Curious what approach fits your yard? Reach out through our homepage to get started.
How Long Does It Take for a Renovated Lawn to Fill In?
Cool-season seed germinates in 7 to 21 days depending on species, with Kentucky bluegrass on the slower end and perennial rye on the faster end. Expect a lawn that's mowable but still thin at 6 to 8 weeks, and a fully filled-in, dense lawn by the following spring after one full growing season.
Avoid heavy foot traffic on new seed for at least the first month. Patience here matters more than any product you can buy.
Can I Renovate Just Part of My Lawn Instead of the Whole Yard?
Yes. If only certain zones, like a shaded side yard or a high-traffic path, are in bad shape, you can scalp, dethatch, aerate, and reseed just those sections without touching the rest of the lawn. Just expect a visible color and texture difference between old and new turf for the first season while the new grass matures.
---
This guide was put together by the crew at Sunrise Lawns & Landscaping, a landscaping, hardscape, and irrigation contractor serving Osceola, WI and the surrounding St. Croix Valley. We've renovated lawns on clay-heavy lots across Polk County, Hudson, and New Richmond, and we build every estimate around what your specific soil and sun exposure need, not a one-size-fits-all package. Questions about your yard? Visit {{SITE_URL}} or get a free estimate.